
Learn to Setup SEO, Analytics & Site Index
.jpg)
Introduction
The templates are fine as a starting point, but we must not forget that they are web pages that will have real behavior for those who buy them.
If you have purchased the template and now want to evaluate the behavior of your users, modify some elements to configure SEO to your liking and position the website, we explain how.
Before starting, it is important to consider in relation to Google Analytics that each country has different legislation. European Union countries have different regulations than the United States. This is important to keep in mind because it will require you to add certain things as mandatory if you want to avoid problems.
Connect Google Analytics
The traditional way is through the measurement ID provided by Webflow from the website's settings panel. Better yet, let Webflow themselves explain it to you: We recommend reading this documentation or directly watching the video where everything is explained very well.
SEO
Alright, a website isn't just what we see and that's it; there are certain aspects we need to configure so that our website can be found by the whole world. We need to consider a few aspects.
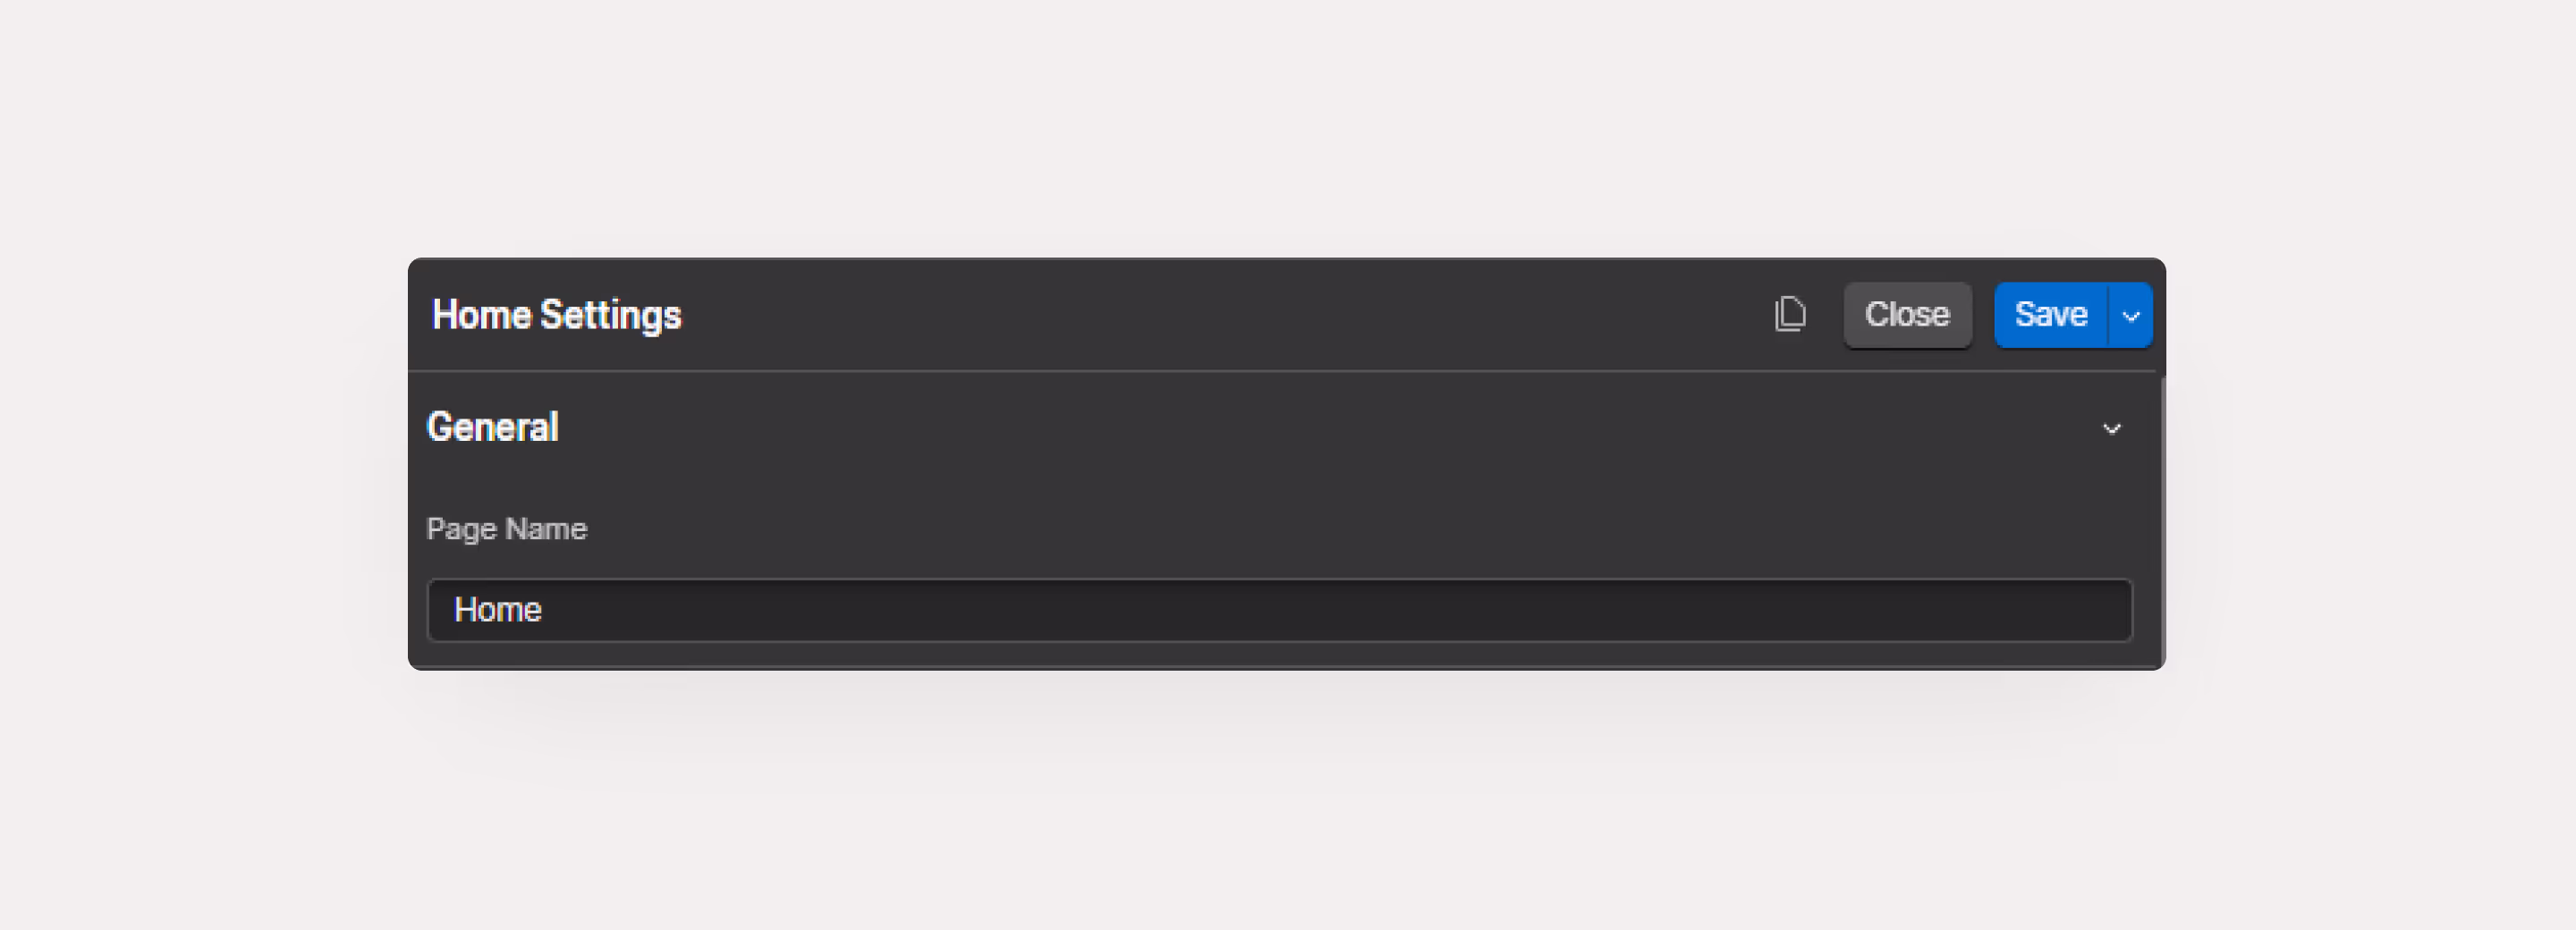
First of all, within each page, you'll find a settings icon; that's where you should configure the SEO for each page individually. You'll see that first, we encounter the page's name; here, there isn't really much of a problem, you can leave the name as you see fit.
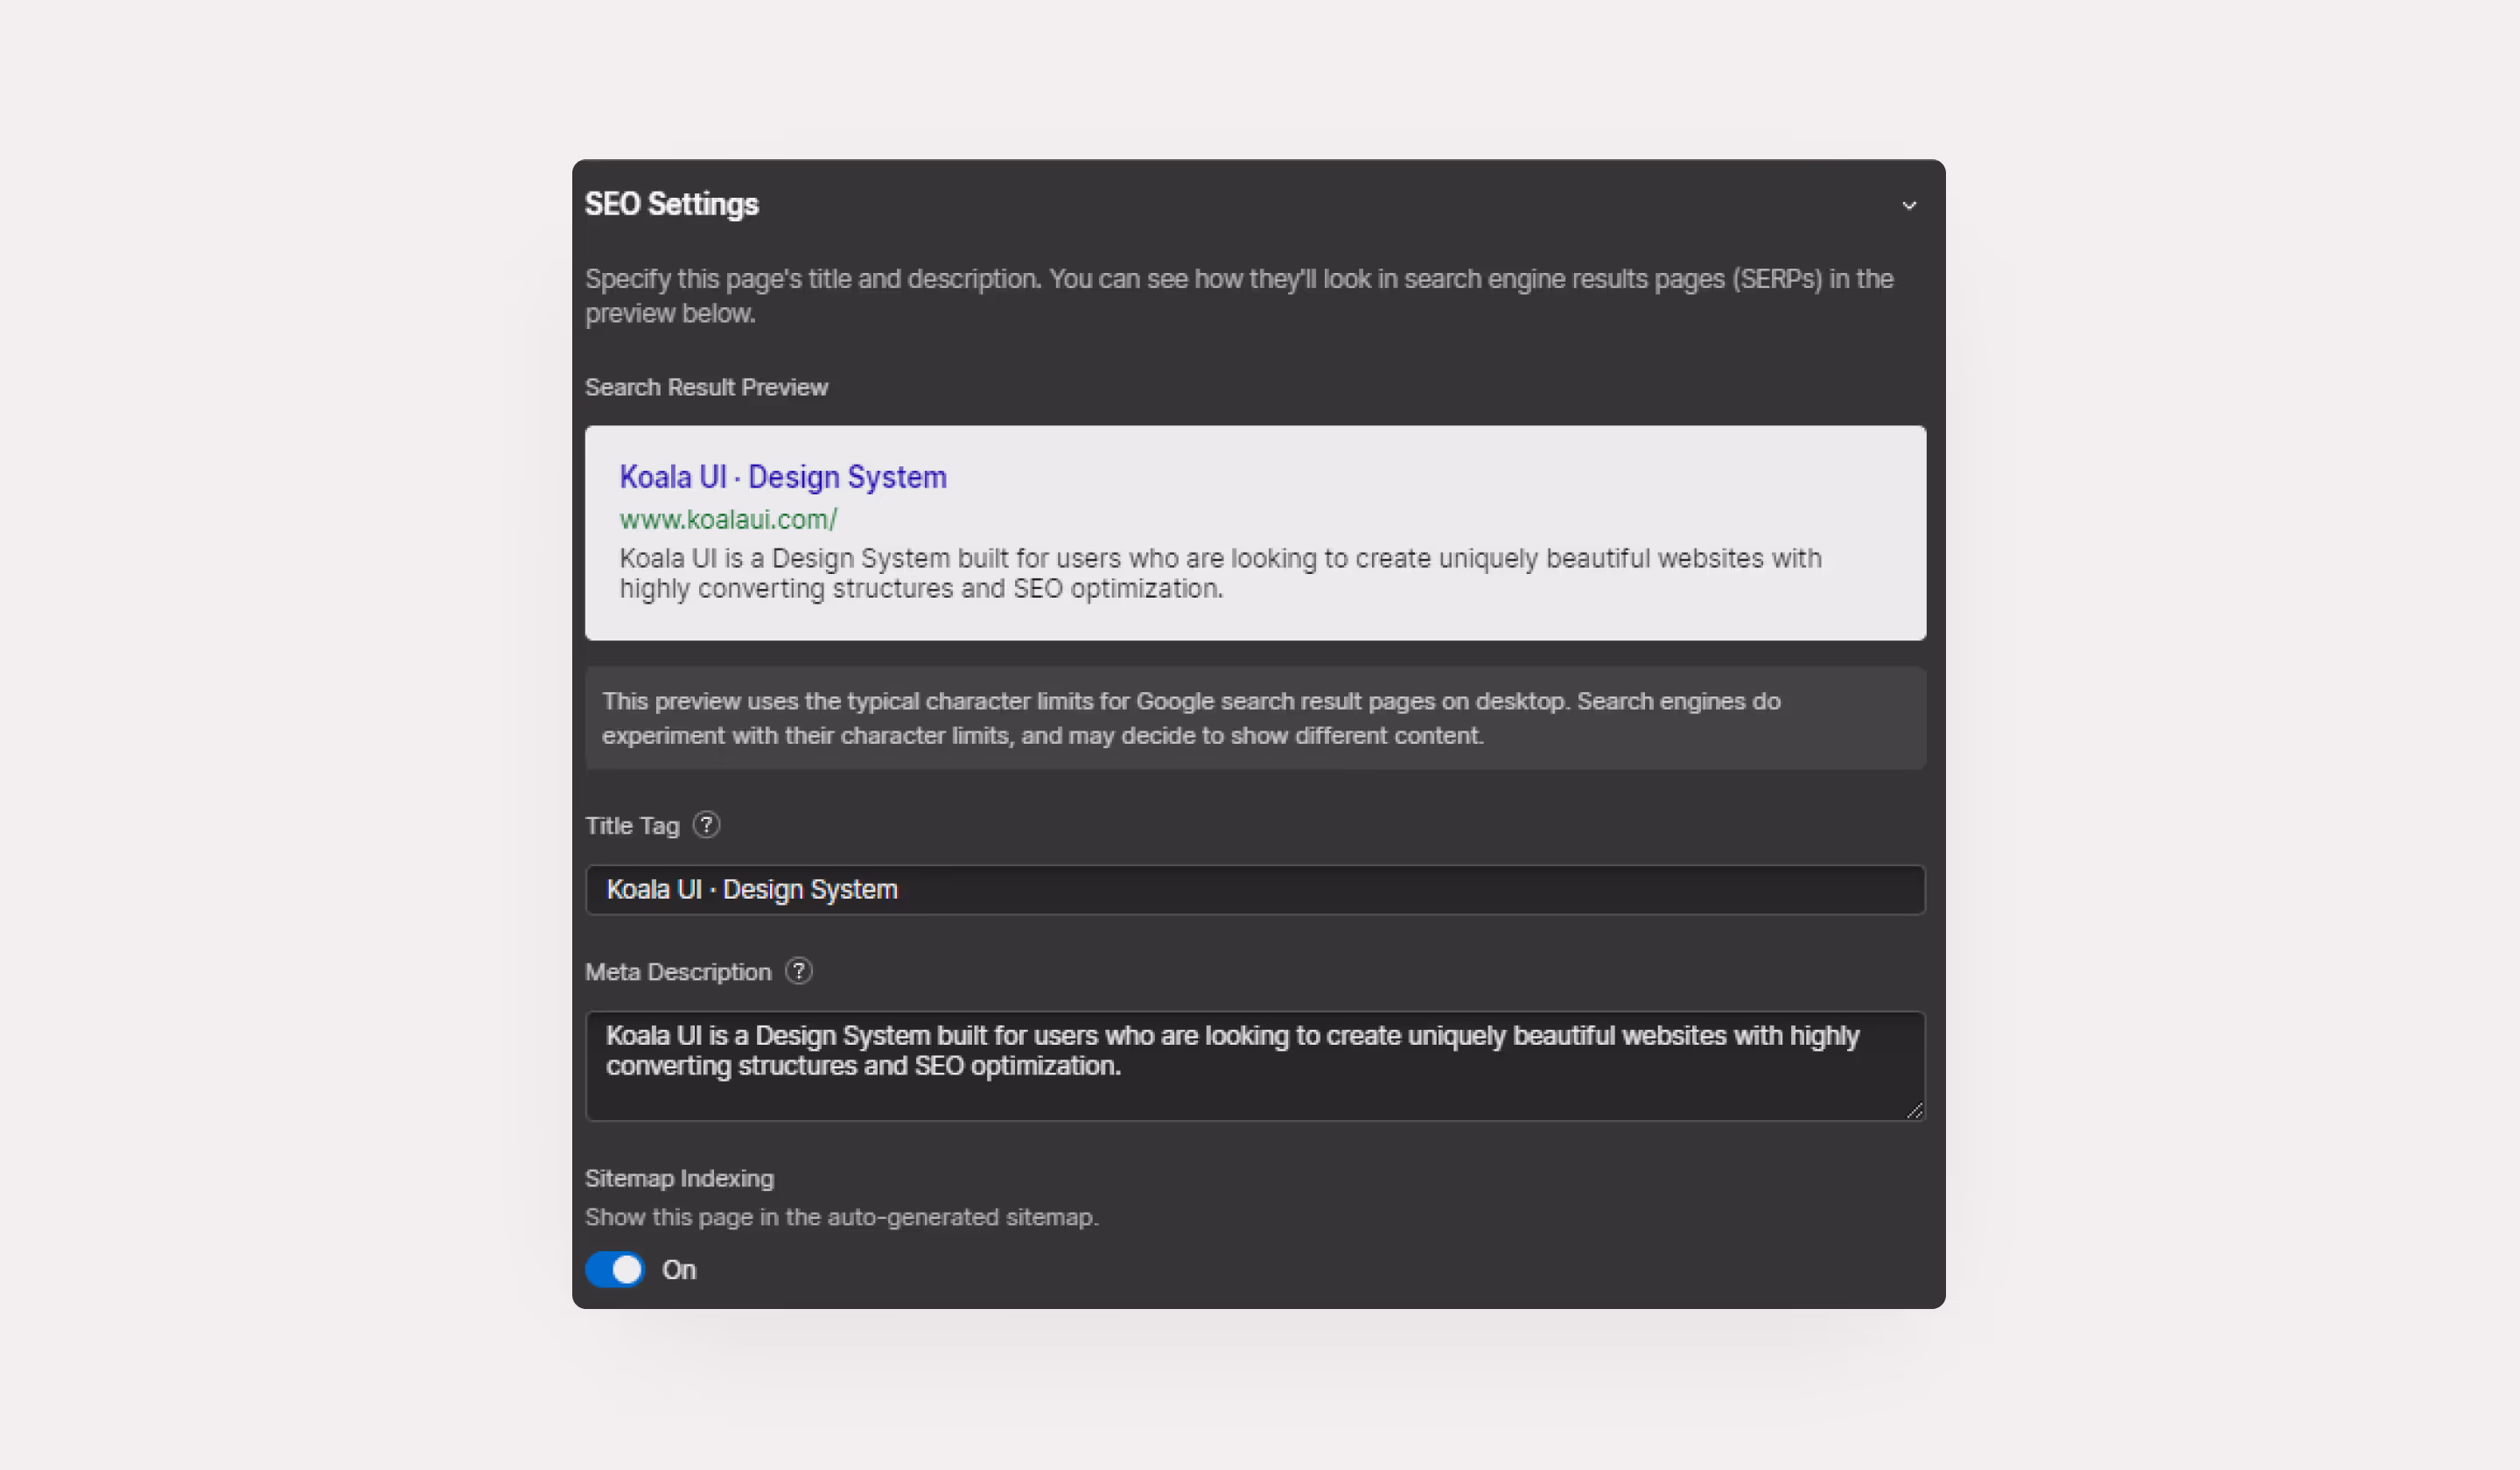
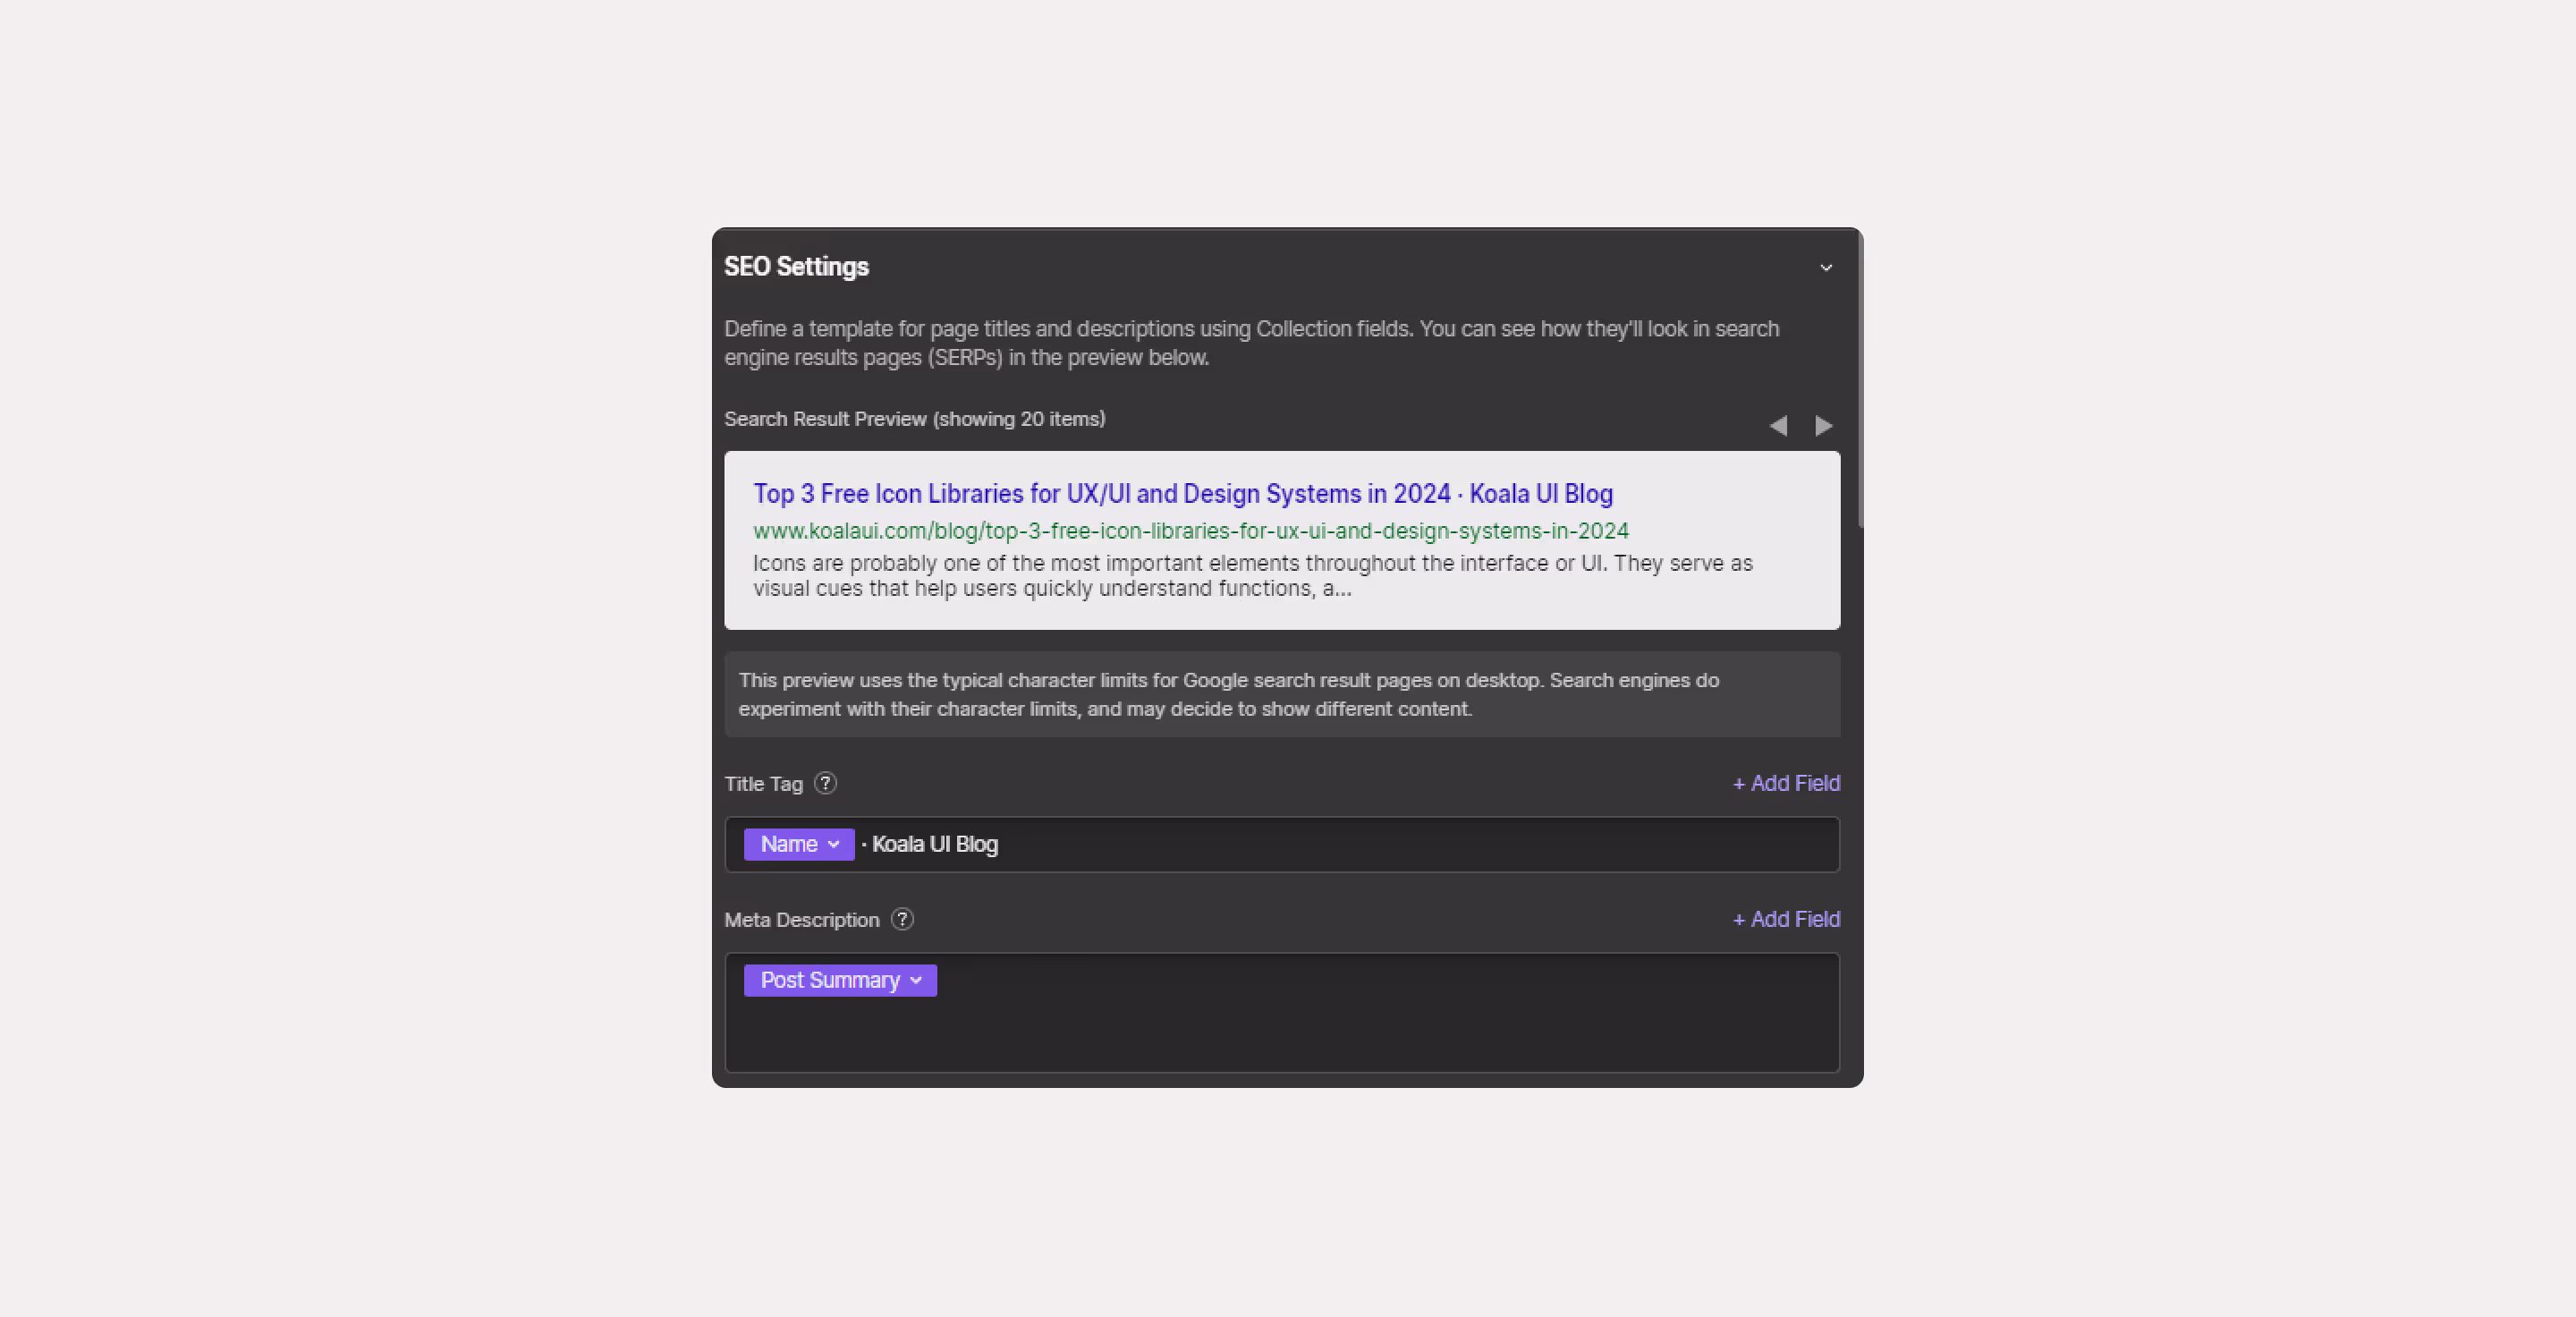
What comes next is indeed important. If you pay close attention, within the configuration of each screen, you'll find sections; in this case, the first one you'll see is "SEO." Here, in the Title tag, you should avoid putting just "Home." It's preferable to put "Home + Company Name." This information will appear on Google. In Google, it's important that "Page Name + reference to the website" appears. In our case, "Koala UI · Design System" was sufficient.
Then, you move to the meta description, and here is where you should put the company or page pitch, in a few words. When a user searches for your company name on Google, you need to convince them with the title tag + the description.
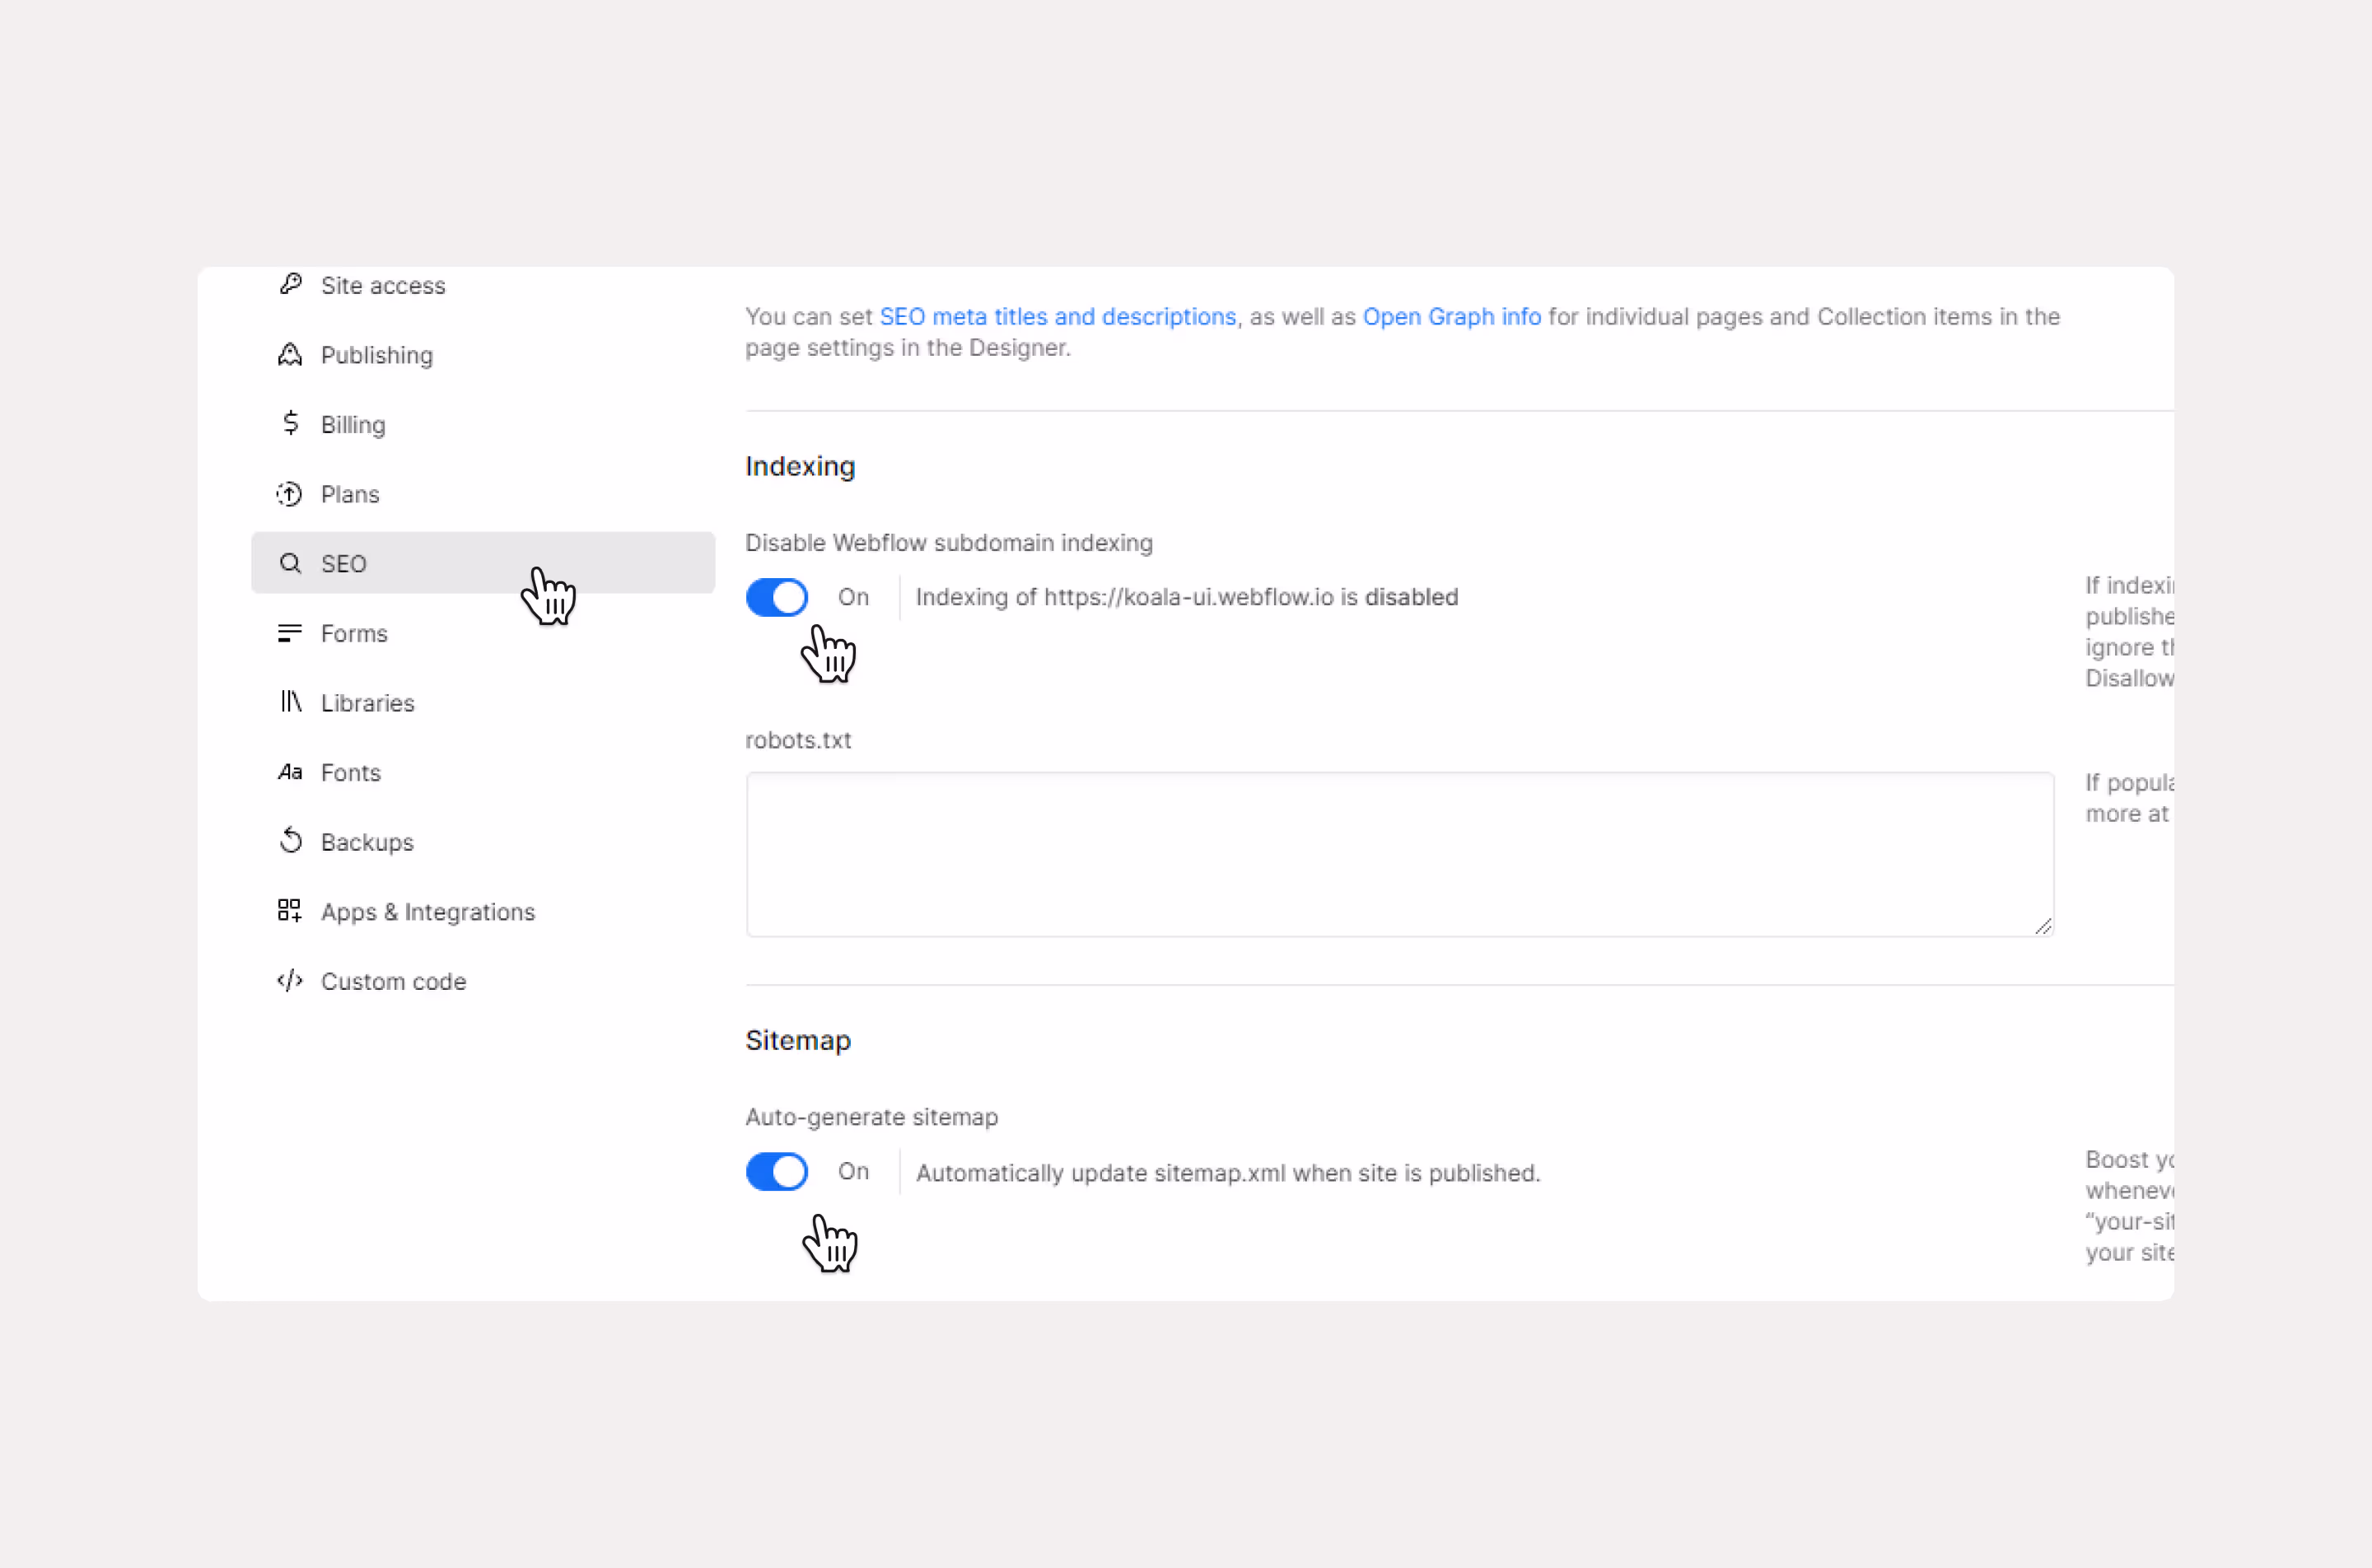
Afterward, click on the site map indexing and activate it as part of the website's sitemap. To learn more about sitemaps or indexing, we recommend that you review this article.
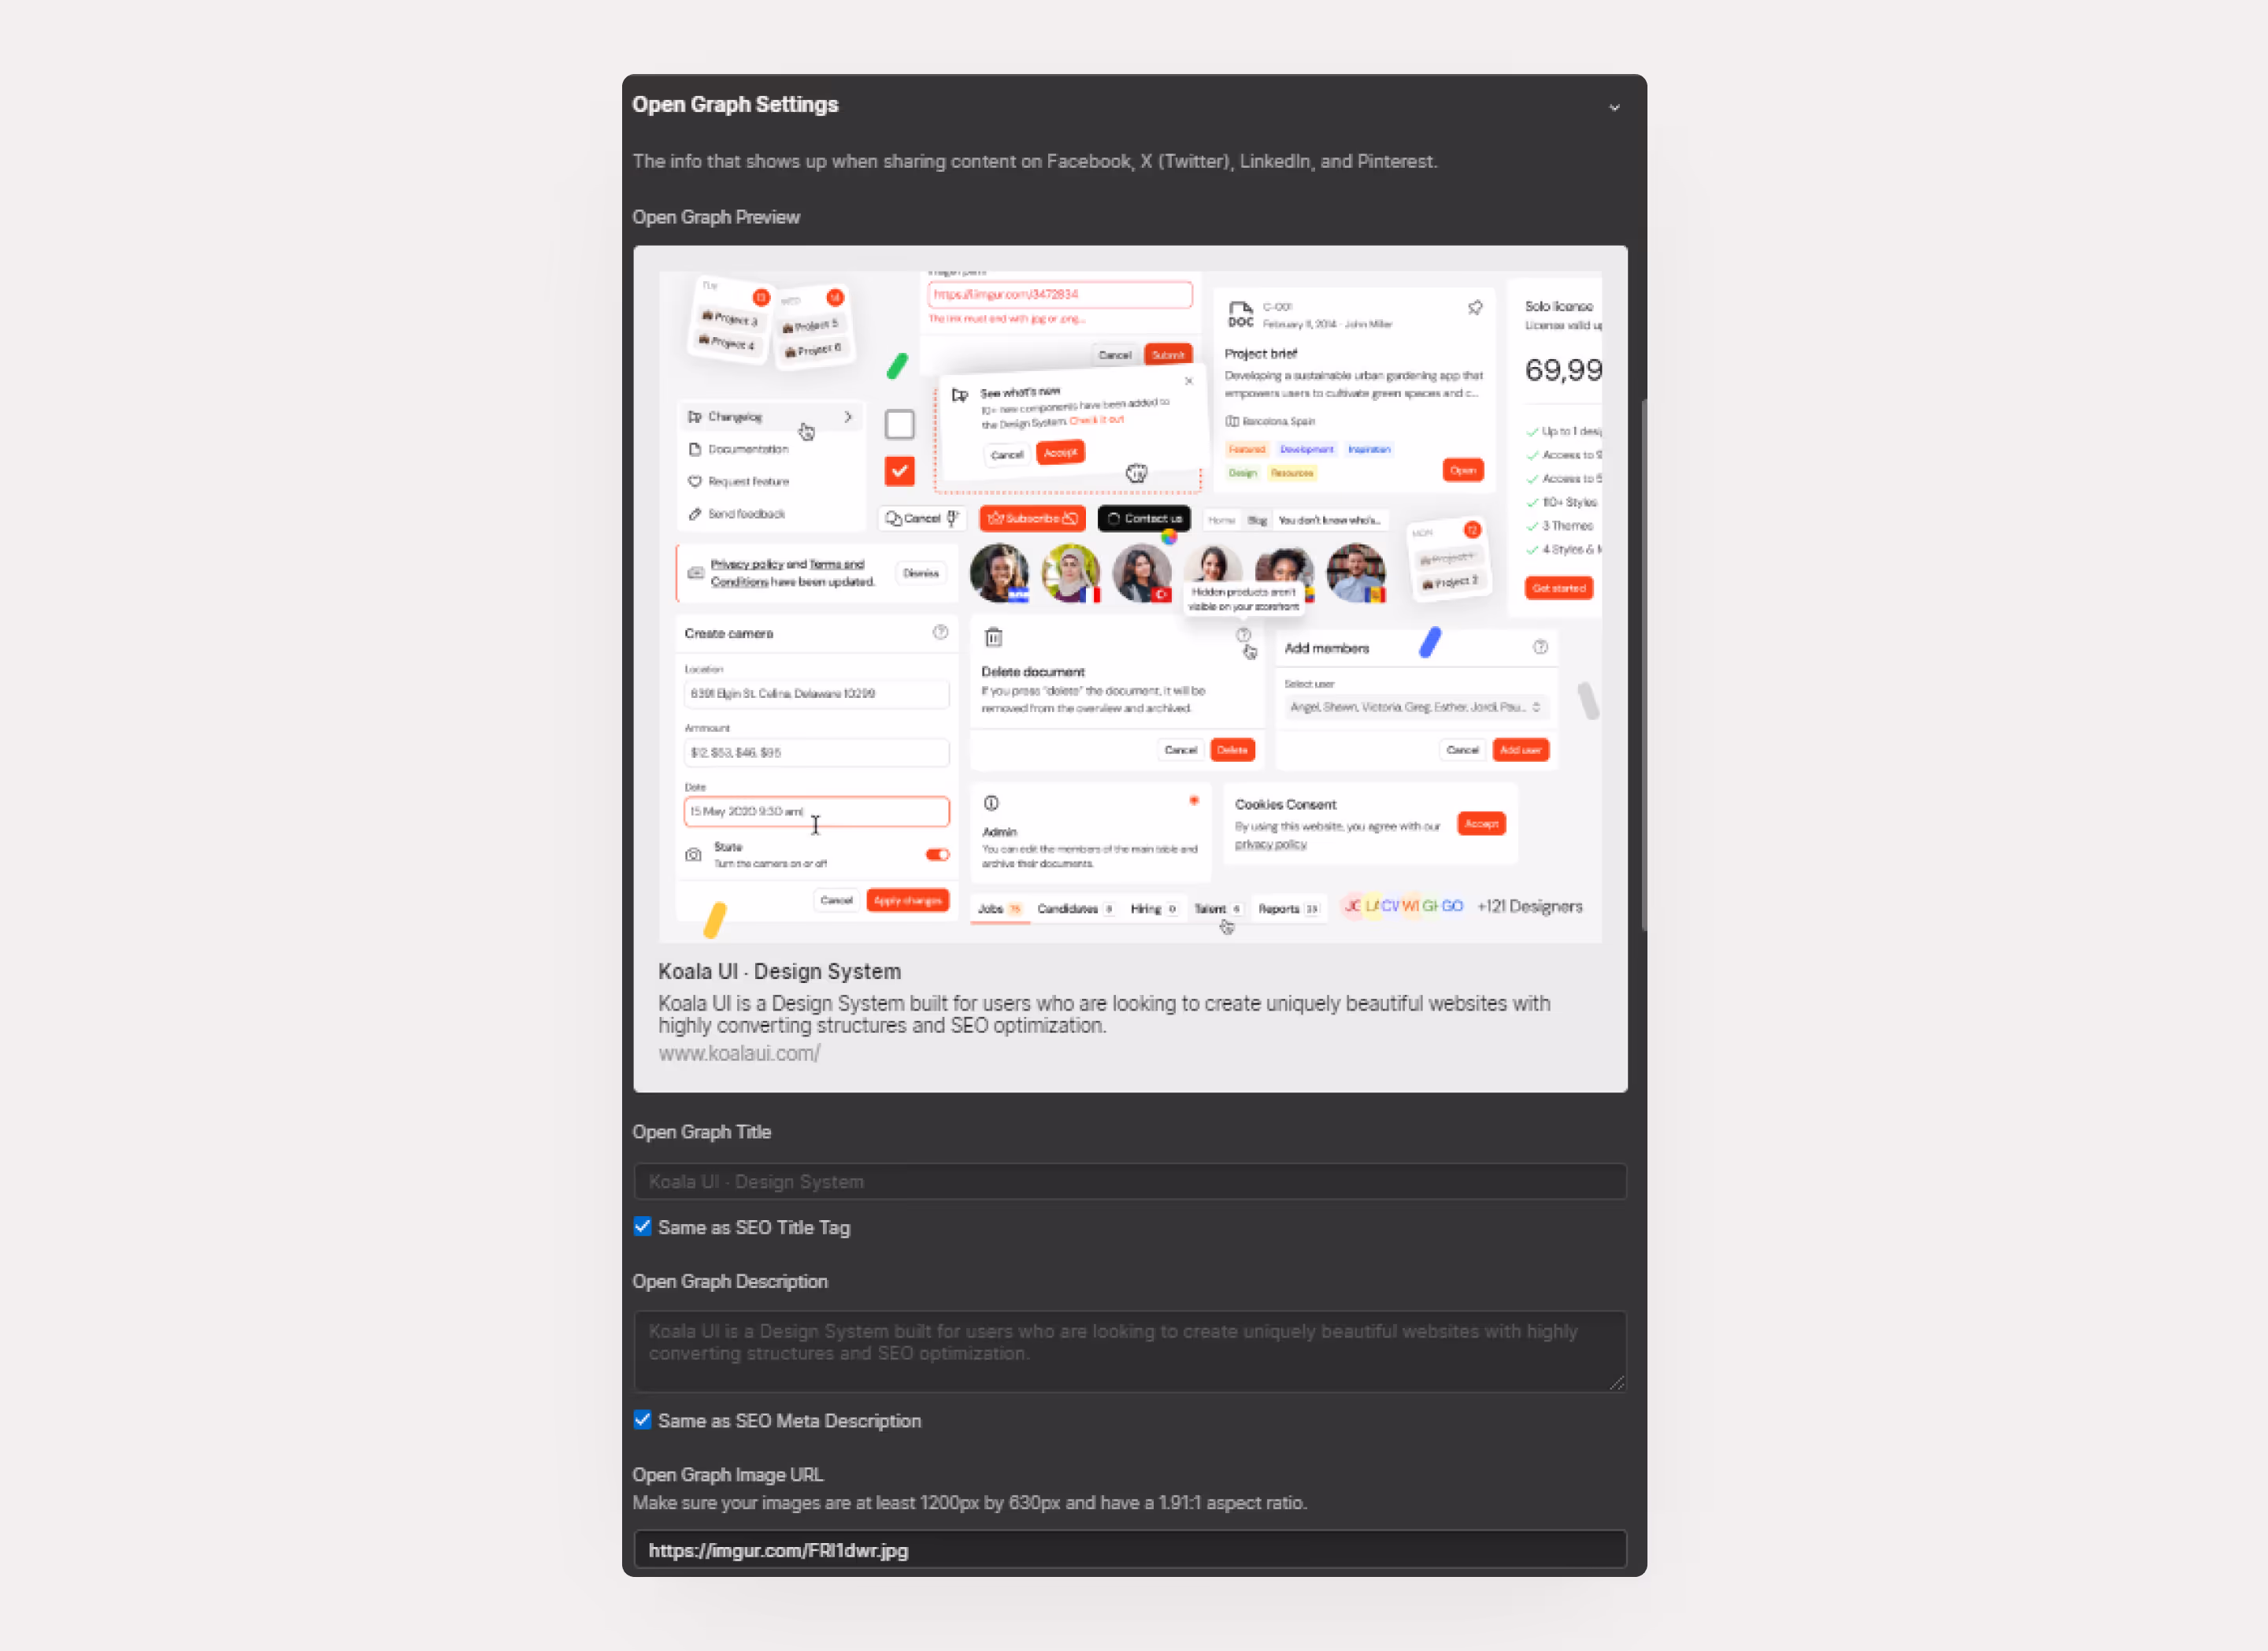
Now, let's move on to the Open Graph section. Here, basically, you'll need to check the checkboxes to import the information you've entered in the SEO sections. Additionally, you can upload an image to Imgur or any hosting service and enter the image you want.
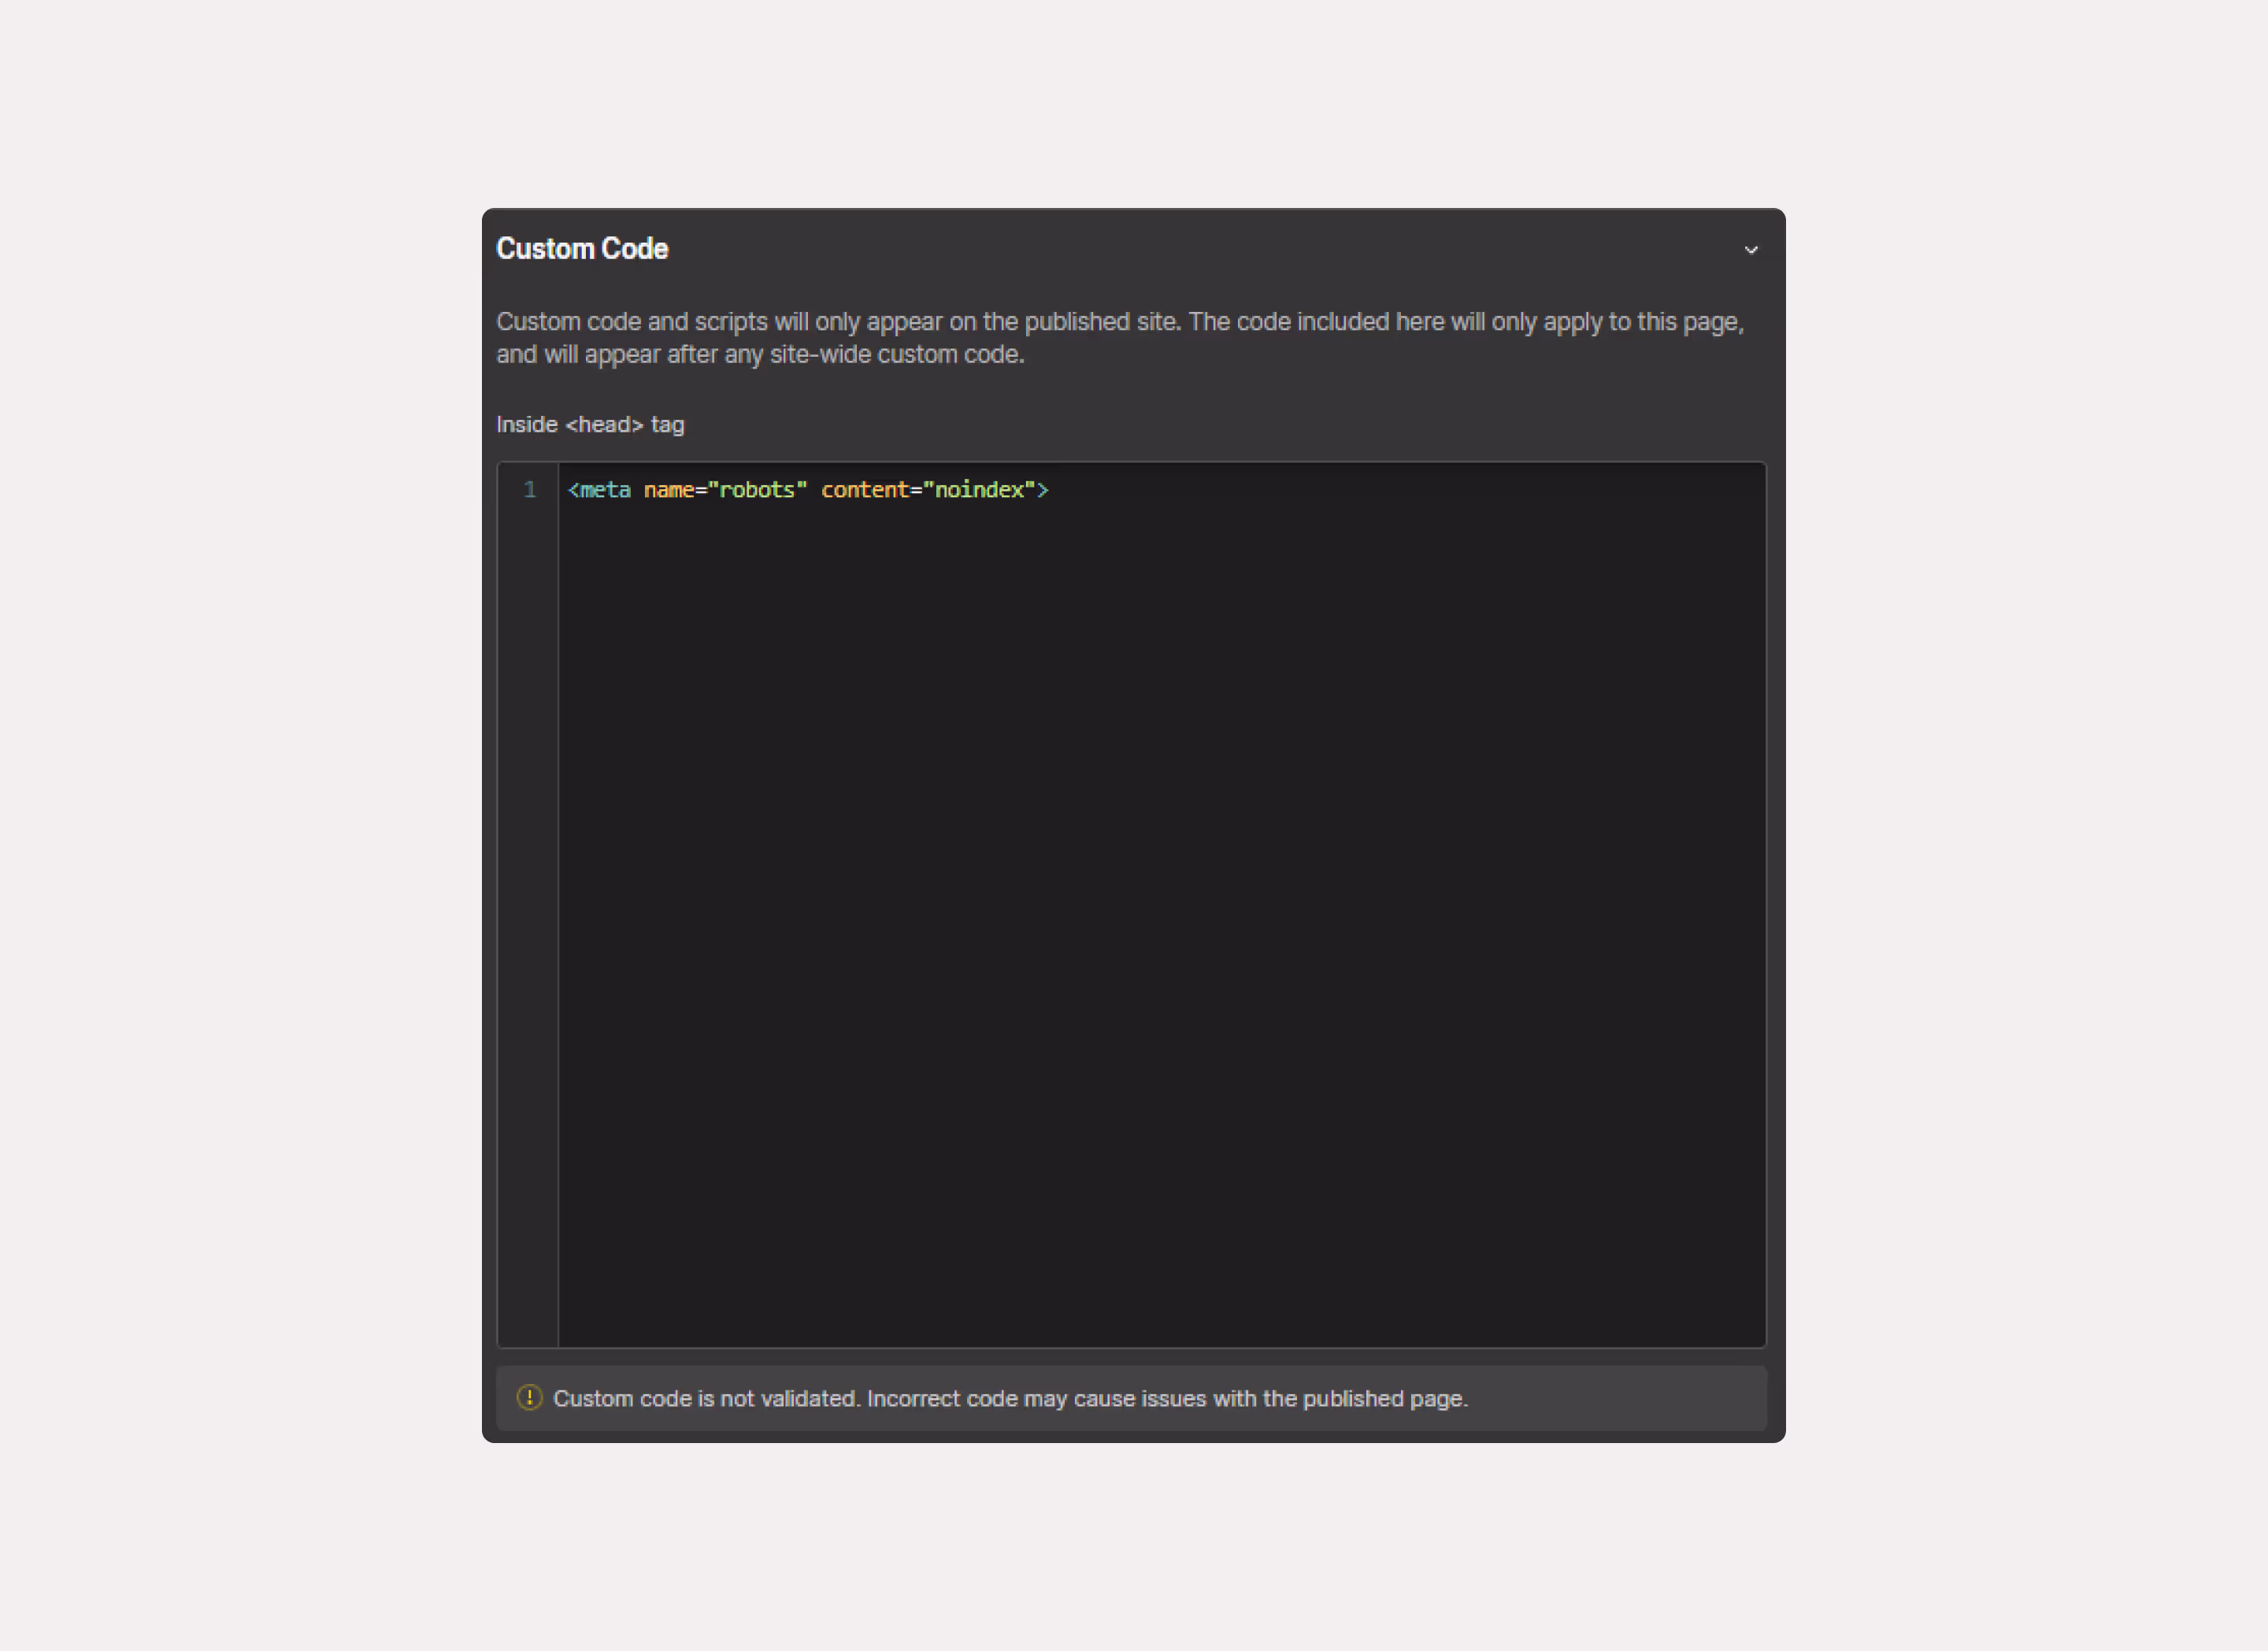
It's important to mention that you may not want to index all your pages, that you may not want all your pages to be searchable on Google, such as the "Style Guide" of the website. To achieve this, you can insert this code into the head of the website.
In the case of SEO on collection pages, the theory is the same but it works slightly differently. As mentioned earlier, here we want to put a title that entices the user to click. On regular pages, we manually input a title, but with the Content Management System (CMS), we need to find a way to automate it. Since we are working from the CMS, we will find the +add field options, which other pages do not have.
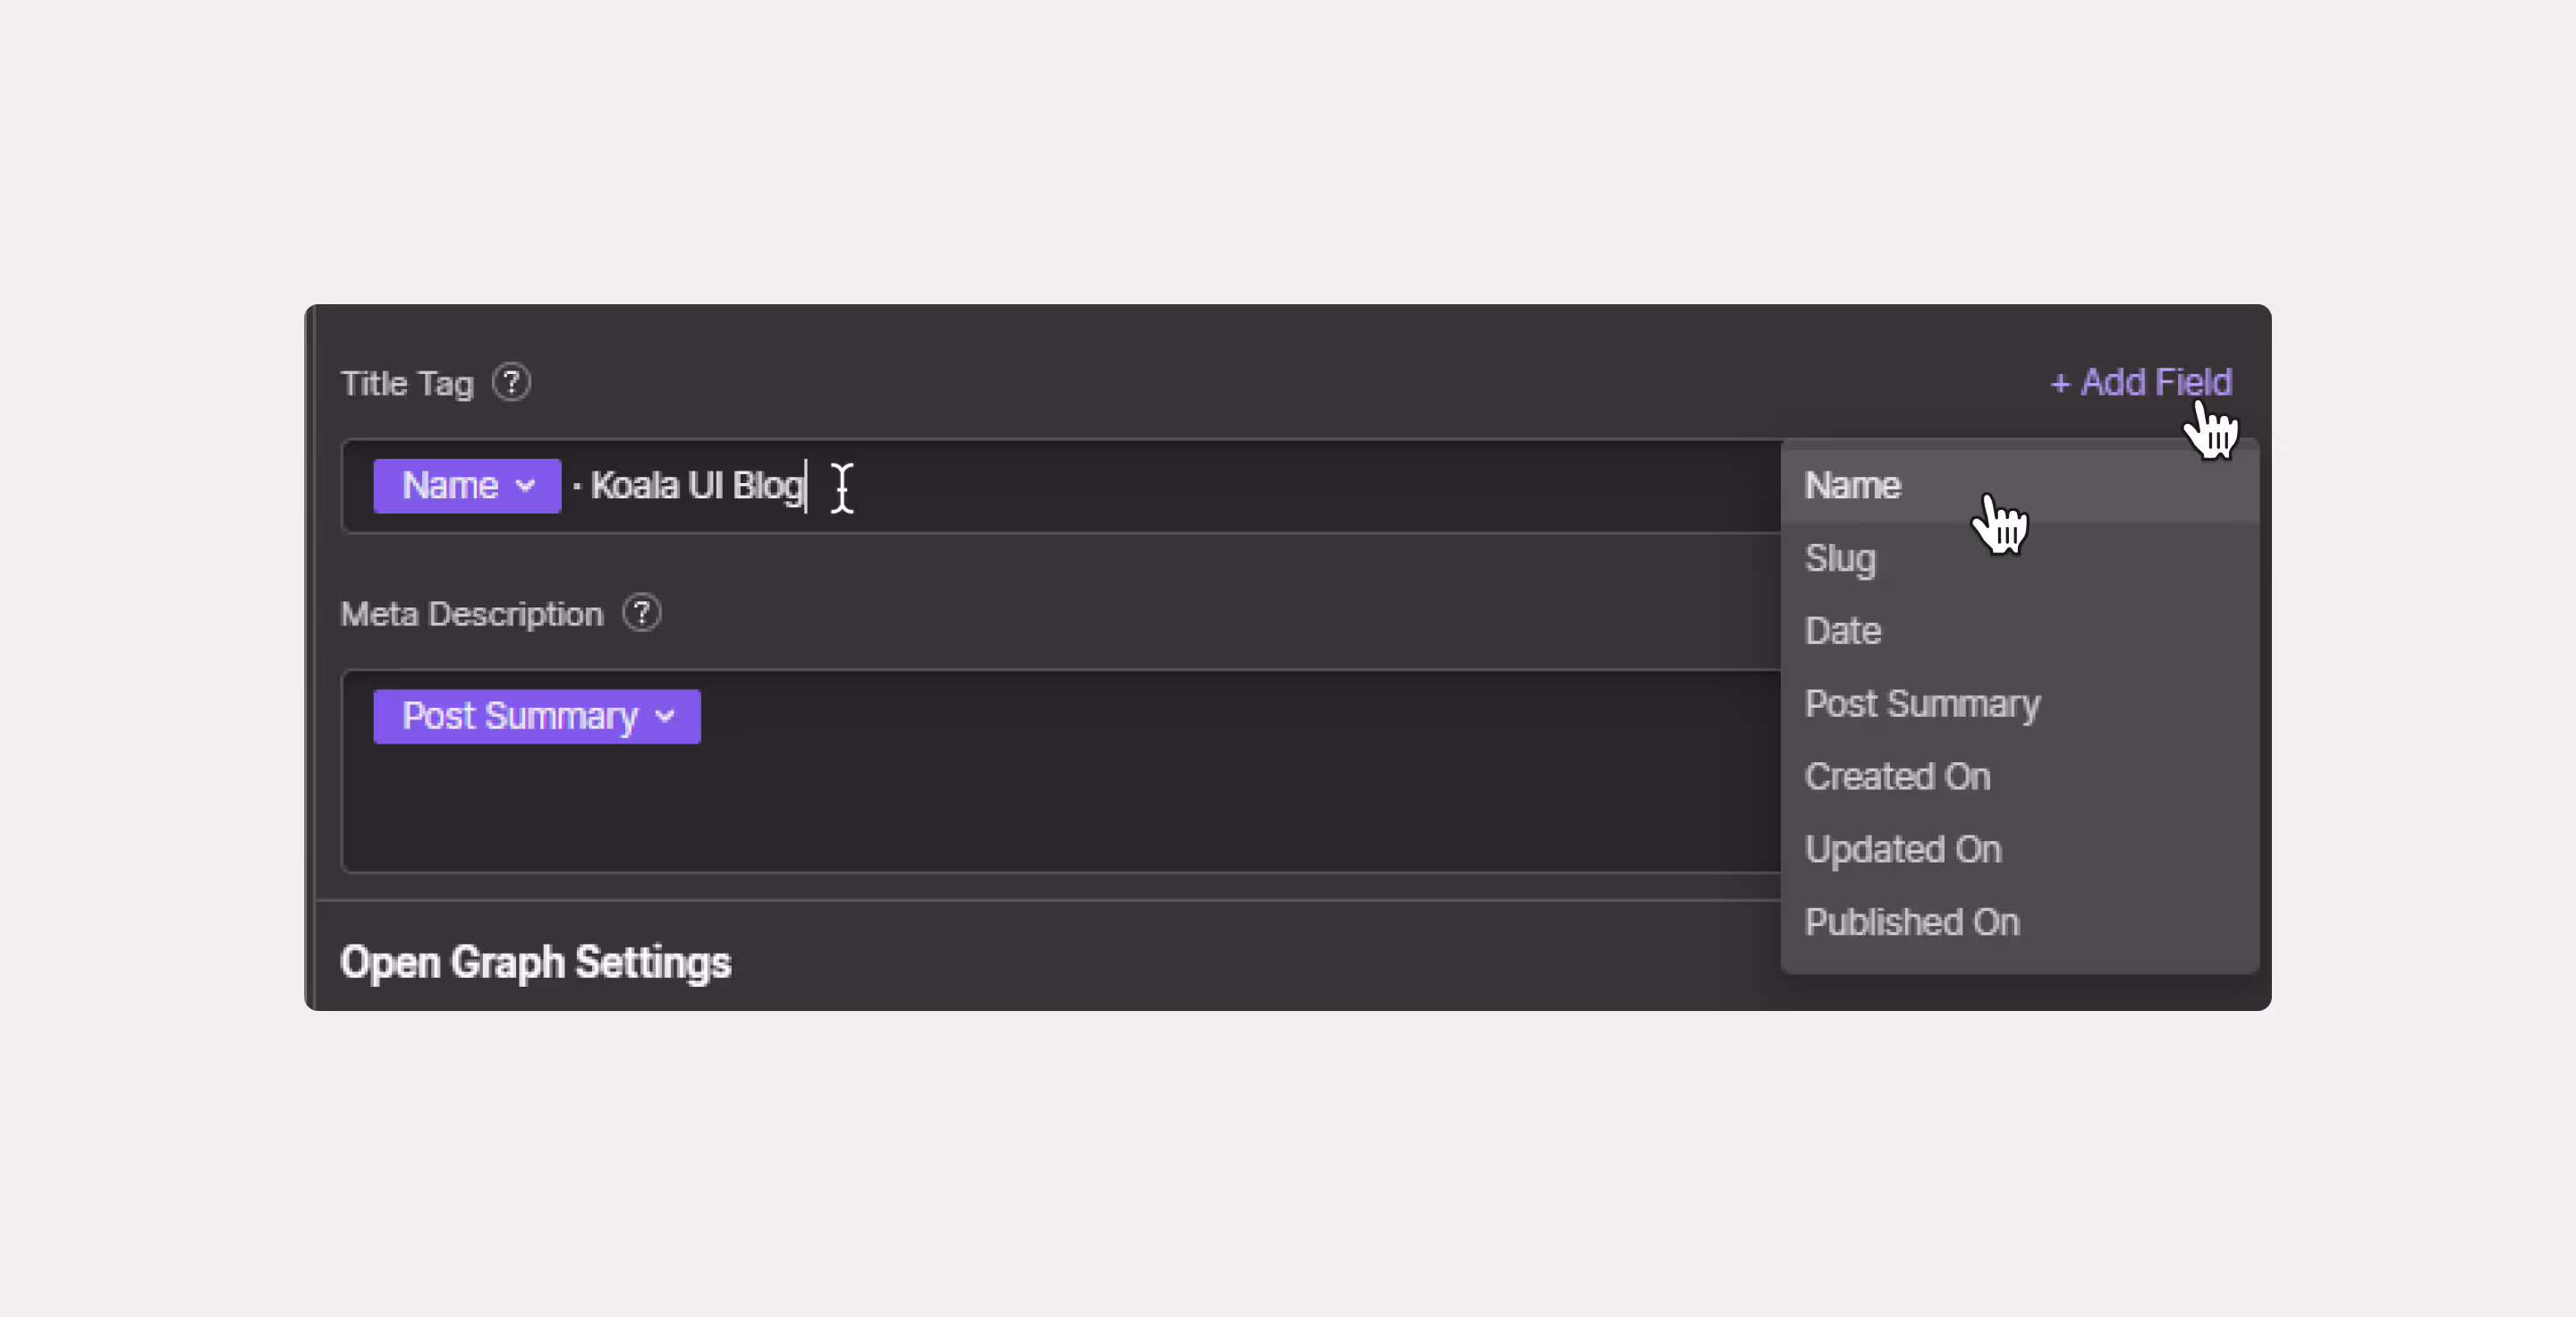
Basically, what we'll do here is click on "add field" and bring in the "name" or "title" field. This depends on the name you give the field from the CMS configuration panel. This action will fetch the information from each CMS content. With the image we've previously inserted and this subsequent one, the concept is understood.
And finally, we'll also add an image. Instead of entering the URL manually, we'll use the corresponding image for each article from the CMS. In this case, we'll enter the thumbnail image because that's how we've configured it from the CMS configuration panel.

And to conclude, we'll go to the general settings of the page and activate everything we see in the screenshot.
And with that, everything would be practically done, at least the most important things for positioning the website on Google. We strongly recommend that you learn more about SEO in general to get the most out of your website.